Kategorier
Ukategoriseret

Character design tutorial 2, coloring in Photoshop

This dsicription is an continuation of the blog Character design tutorial 1
farvelægning Photoshop karakterdesign illustration Rene Birkholm alias rebi tegneren.dk danmark fyn odense
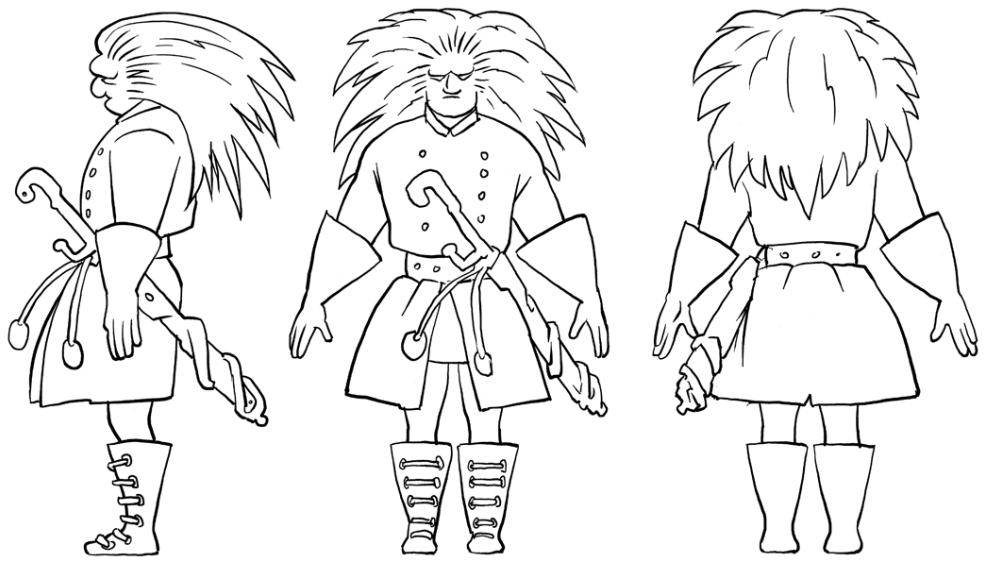
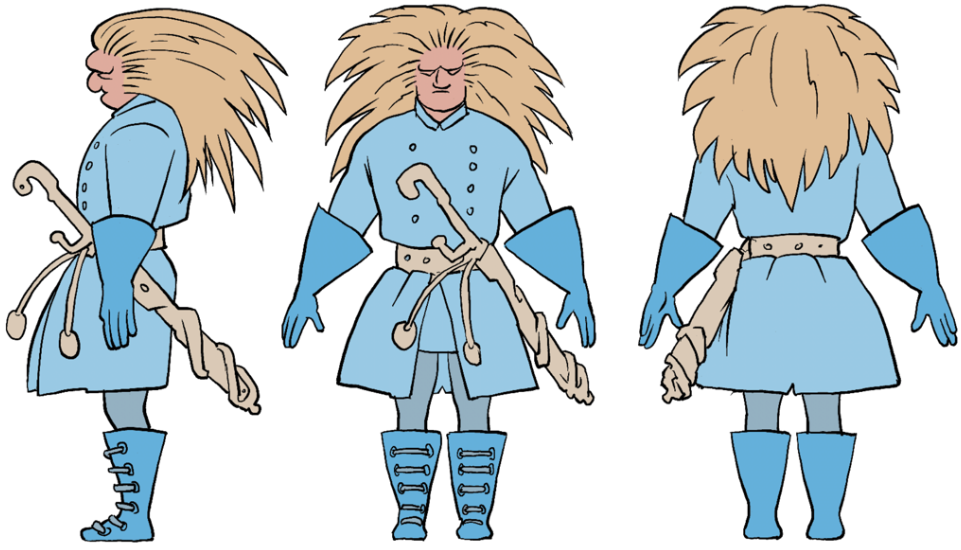
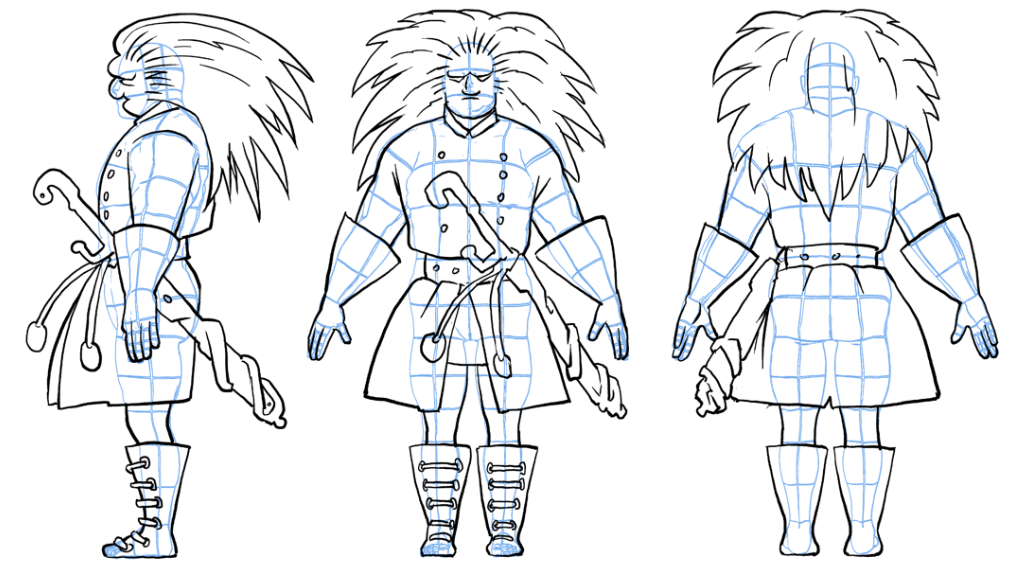
In the last tutorial we made this character drawing and scanned it into the computer. Now open it in Photoshop.
farvelægning Photoshop karakterdesign illustration Rene Birkholm alias rebi tegneren.dk danmark fyn odense
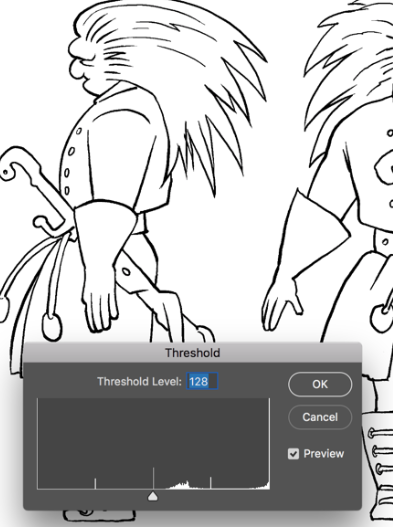
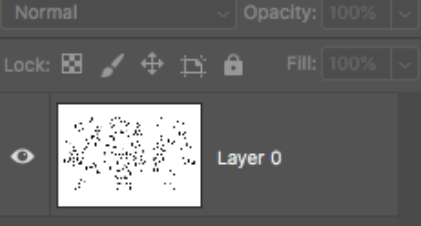
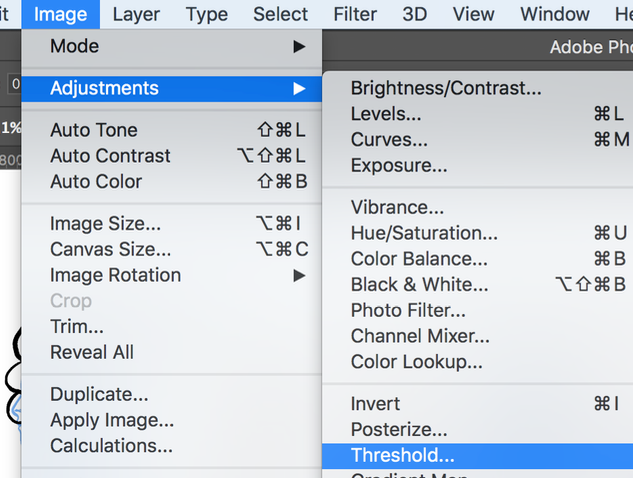
Open Threshold

farvelægning Photoshop karakterdesign illustration Rene Birkholm alias rebi tegneren.dk danmark fyn odense
Adjust to make the blue disappear.

farvelægning Photoshop karakterdesign illustration Rene Birkholm alias rebi tegneren.dk danmark fyn odense
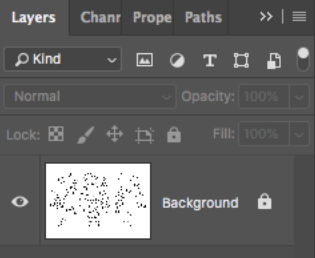
The blue is gone.

farvelægning Photoshop karakterdesign illustration Rene Birkholm alias rebi tegneren.dk danmark fyn odense
Double click the background layer …

farvelægning Photoshop karakterdesign illustration Rene Birkholm alias rebi tegneren.dk danmark fyn odense
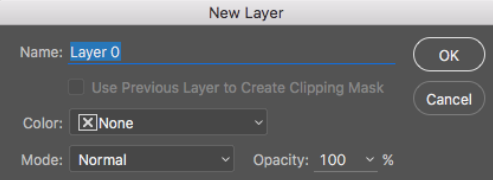
… and click ok …

farvelægning Photoshop karakterdesign illustration Rene Birkholm alias rebi tegneren.dk danmark fyn odense
… to change it to a normal layer (with many more options)
farvelægning Photoshop karakterdesign illustration Rene Birkholm alias rebi tegneren.dk danmark fyn odense
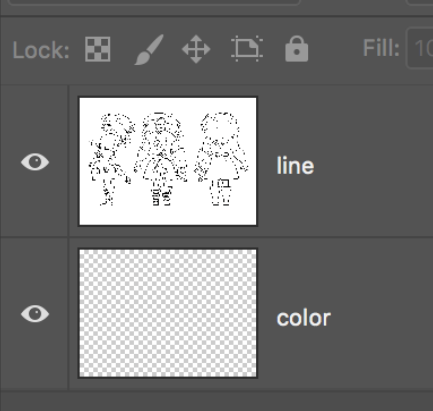
Make a new empty layer

farvelægning Photoshop karakterdesign illustration Rene Birkholm alias rebi tegneren.dk danmark fyn odense
Place it below the line-art layer. Call the layers line and color.
farvelægning Photoshop karakterdesign illustration Rene Birkholm alias rebi tegneren.dk danmark fyn odense
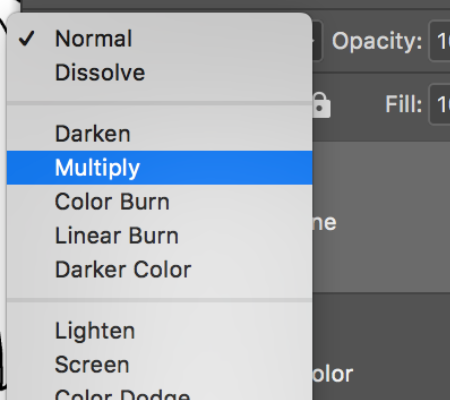
Change the blending mode for the line layer to multiply.

farvelægning Photoshop karakterdesign illustration Rene Birkholm alias rebi tegneren.dk danmark fyn odense

farvelægning Photoshop karakterdesign illustration Rene Birkholm alias rebi tegneren.dk danmark fyn odense

Lock the line layer.

farvelægning Photoshop karakterdesign illustration Rene Birkholm alias rebi tegneren.dk danmark fyn odense
Now we are going to add colors. The white paper background of the “line” layer is transparent because it’s in multiply-mode:)
farvelægning Photoshop karakterdesign illustration Rene Birkholm alias rebi tegneren.dk danmark fyn odense
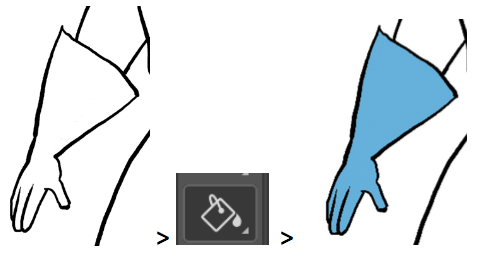
If there are no gaps in the line-art use the paint bucket to add color.
Else use a pencil or brush

farvelægning Photoshop karakterdesign illustration Rene Birkholm alias rebi tegneren.dk danmark fyn odense
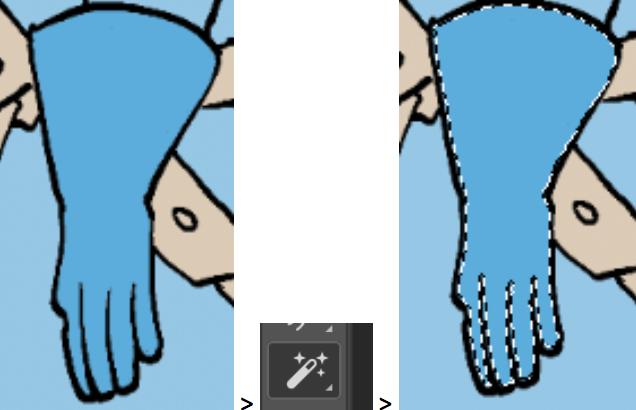
Select the magic wand tool

farvelægning Photoshop karakterdesign illustration Rene Birkholm alias rebi tegneren.dk danmark fyn odense
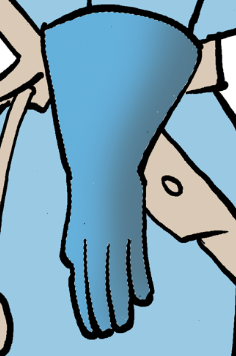
Select a colored element. Here the glove.

farvelægning Photoshop karakterdesign illustration Rene Birkholm alias rebi tegneren.dk danmark fyn odense
Select the burn tool.

farvelægning Photoshop karakterdesign illustration Rene Birkholm alias rebi tegneren.dk danmark fyn odense
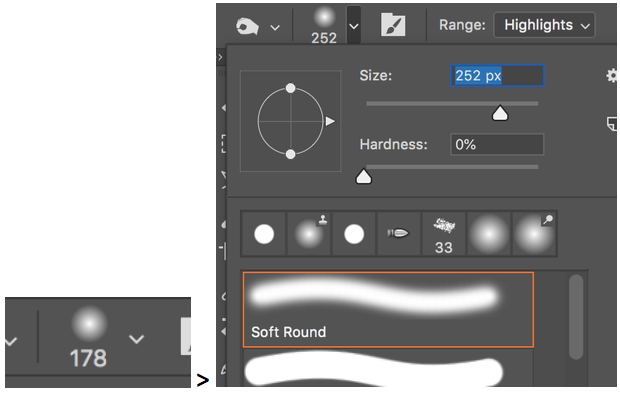
Select a soft brush (0% hardness)

farvelægning Photoshop karakterdesign illustration Rene Birkholm alias rebi tegneren.dk danmark fyn odense
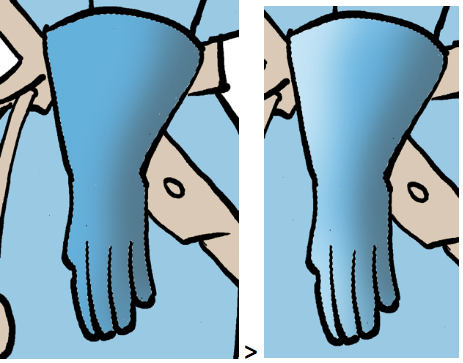
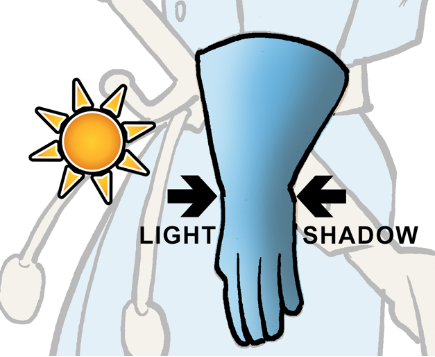
Make the right-side shadow dark with the burn tool.

farvelægning Photoshop karakterdesign illustration Rene Birkholm alias rebi tegneren.dk danmark fyn odense
Select the Dodge Tool behind the burn tool.
farvelægning Photoshop karakterdesign illustration Rene Birkholm alias rebi tegneren.dk danmark fyn odense
Use the Dodge tool to make the left-side light.
farvelægning Photoshop karakterdesign illustration Rene Birkholm alias rebi tegneren.dk danmark fyn odense
Imagine the light coming from left creating a light and a dark side.

farvelægning Photoshop karakterdesign illustration Rene Birkholm alias rebi tegneren.dk danmark fyn odense
Deselect (Notice the shortcut for next time).
farvelægning Photoshop karakterdesign illustration Rene Birkholm alias rebi tegneren.dk danmark fyn odense
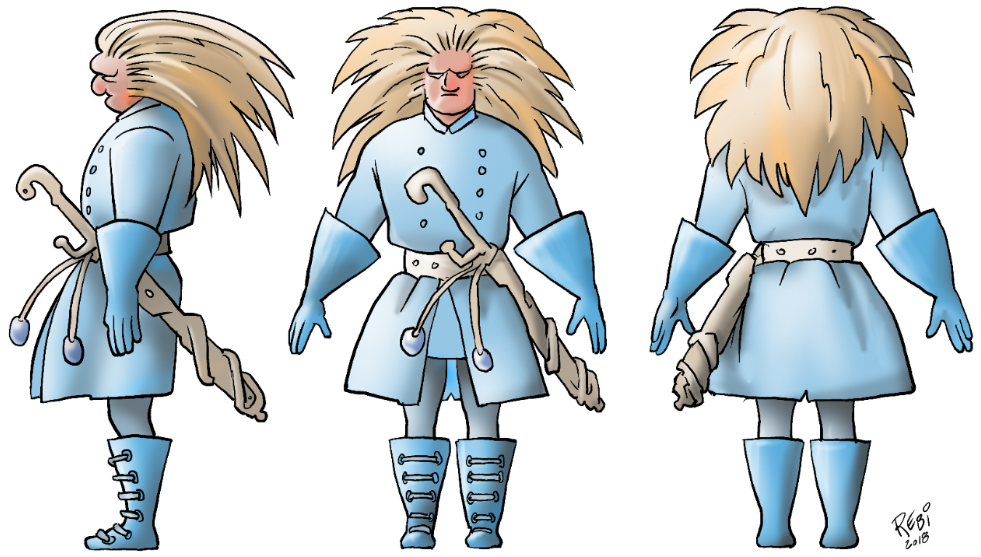
Use this technique on all the parts of the drawing.
Done:)